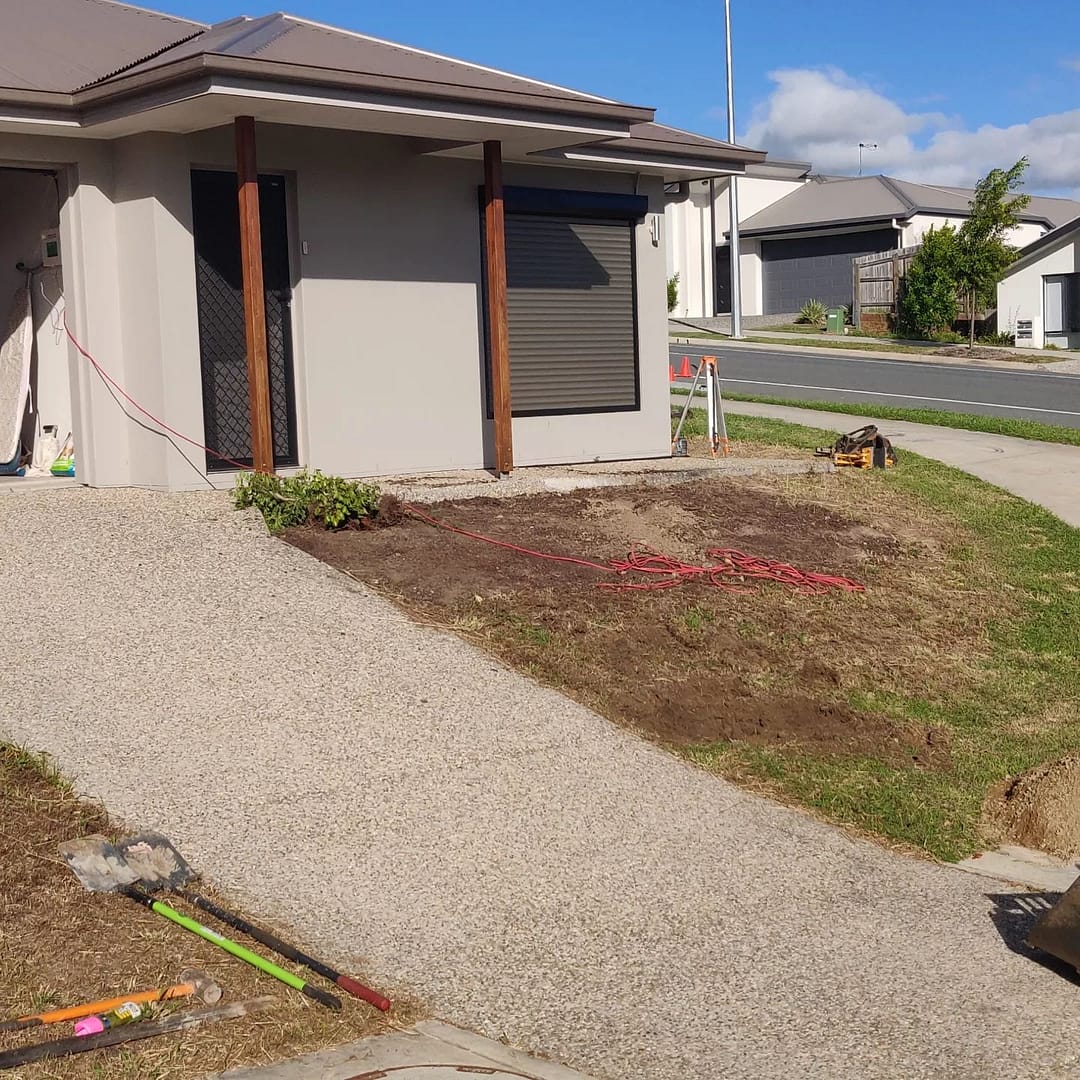
DIY Timber Retaining Wall: Revolutionizing Brisbane Landscaping
Our transformation journey began with a vision – a DIY Timber Retaining Wall. More than a construction project, this was a landscaping revolution in Brisbane that enhanced property value and provided a practical solution for slope management.
Thank you for reading this post, don't forget to subscribe!Thank you for reading this post, don't forget to subscribe!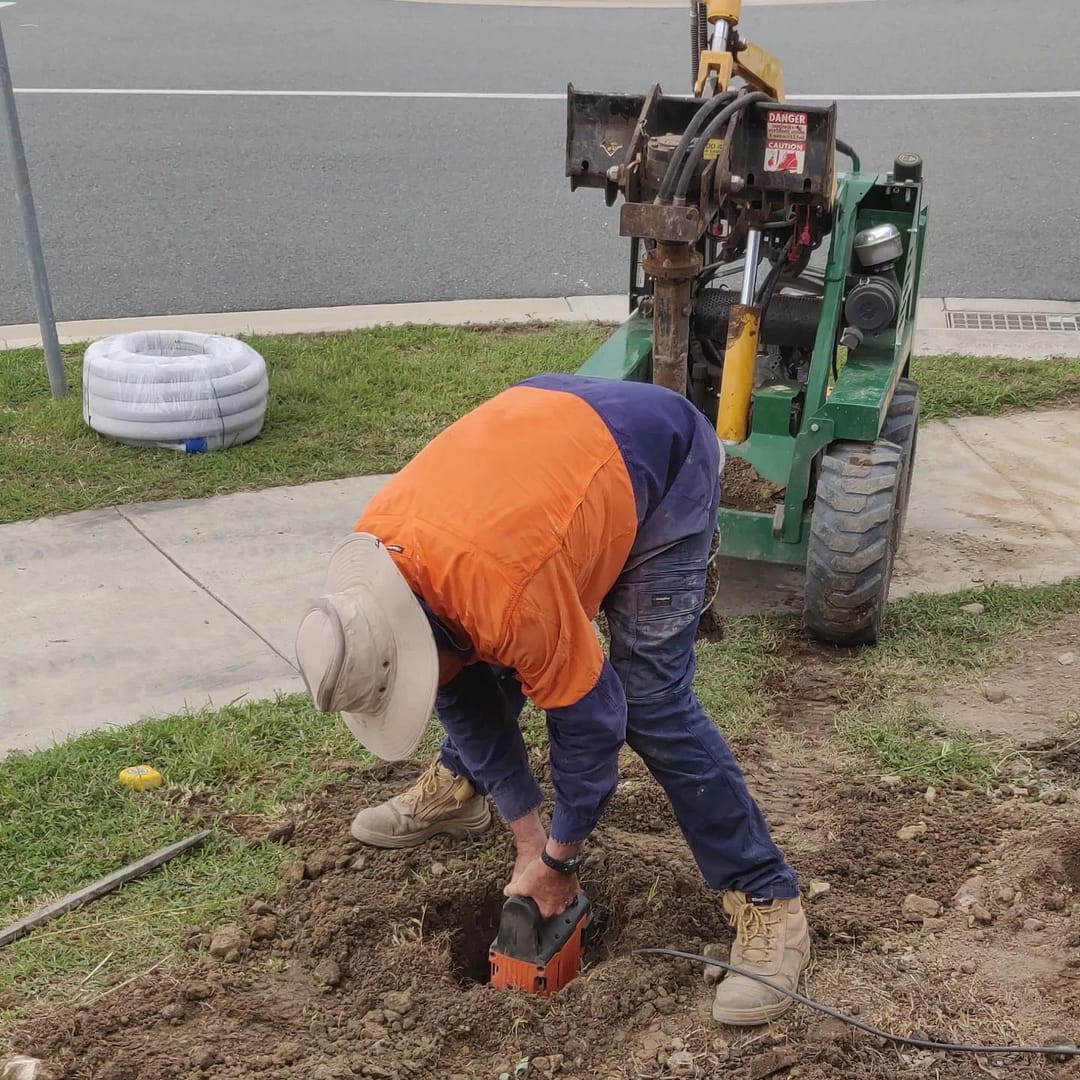
Marking the Ground: The First Step Towards Transformation
Our project kicked off with marking the ground in front of the house outlining the area for the retaining wall. This crucial step provided a clear plan for the construction process, ensuring the retaining wall would be built in the right place and to the correct dimensions. By preventing potential mistakes during construction, this step saved time and ensured efficient use of materials.
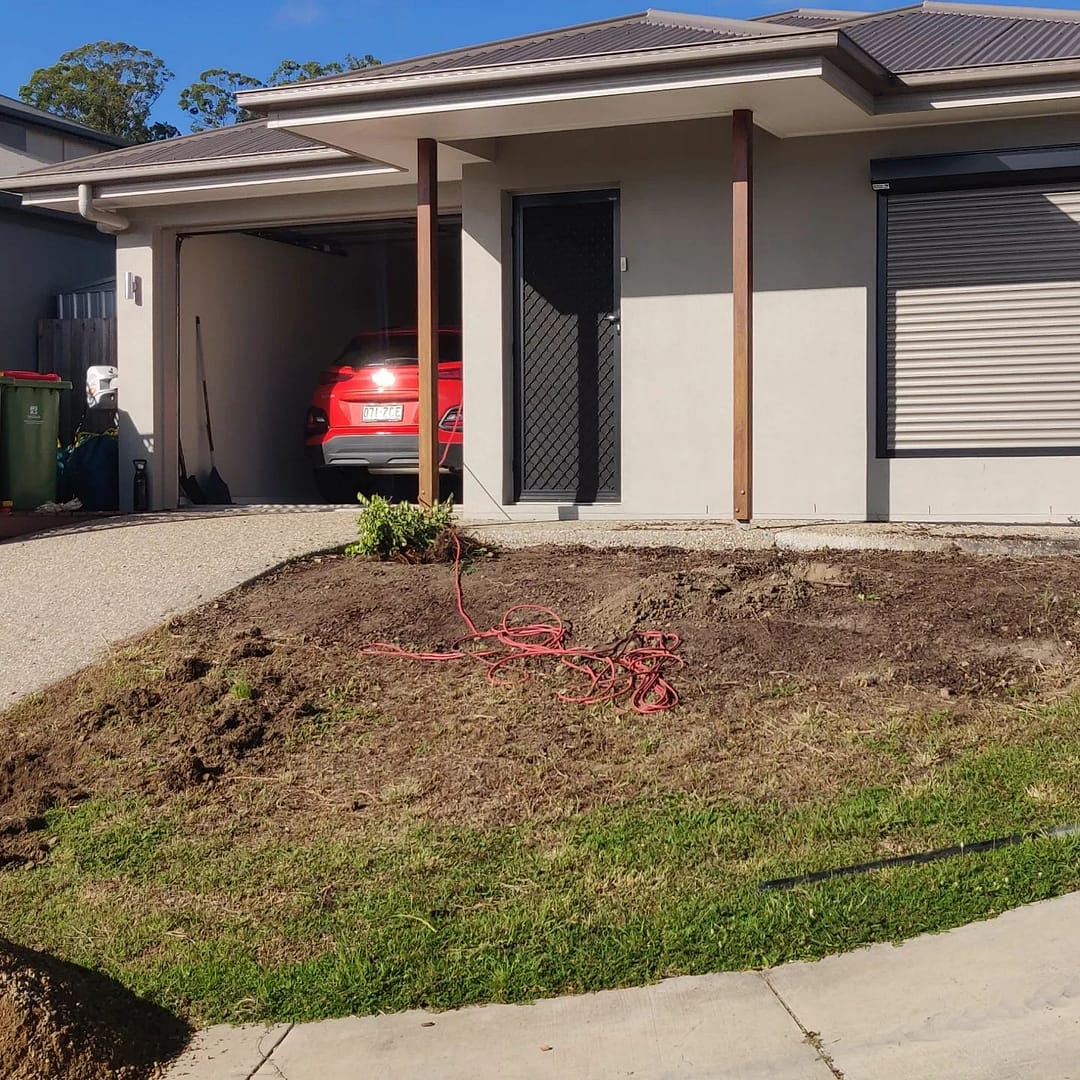
Drilling Post-Holes: Laying the Foundation
We drilled post-holes into the ground using machinery. These holes are crucial for installing the vertical steel bars that will support the retaining wall. This step, essential for the structural integrity of the wall, represented a significant advancement in the project. We carried out the drilling process with precision, ensuring the holes were of the right depth and diameter. This precision played a vital role in ensuring the stability of the retaining wall.
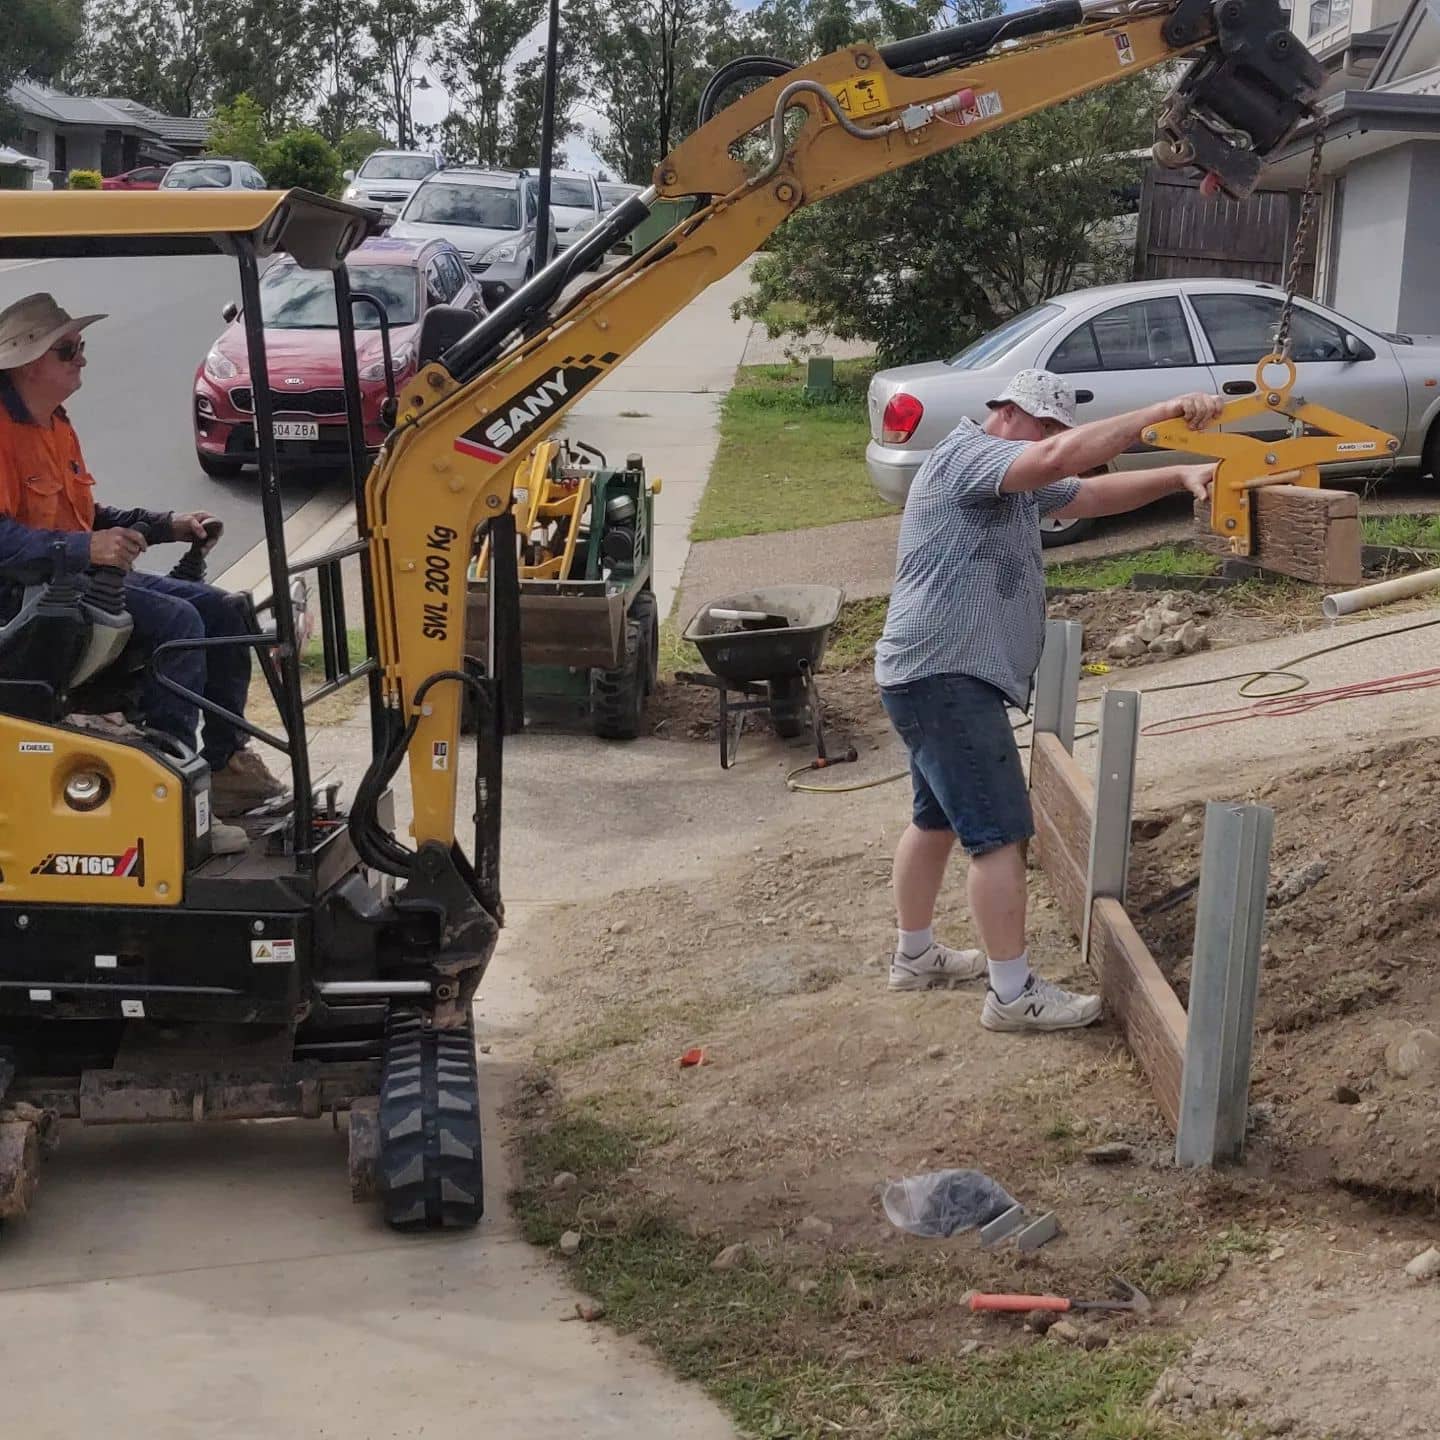
Installing Vertical Steel Bars: Building Strength
We installed vertical steel bars in the drilled holes. These bars provide structural support for the retaining wall. The installation of these bars was a critical step in the construction process. It ensured that the retaining wall would have the strength to withstand the pressure of the soil it was designed to retain. This step was a clear demonstration of the blend of engineering principles and practical construction techniques.
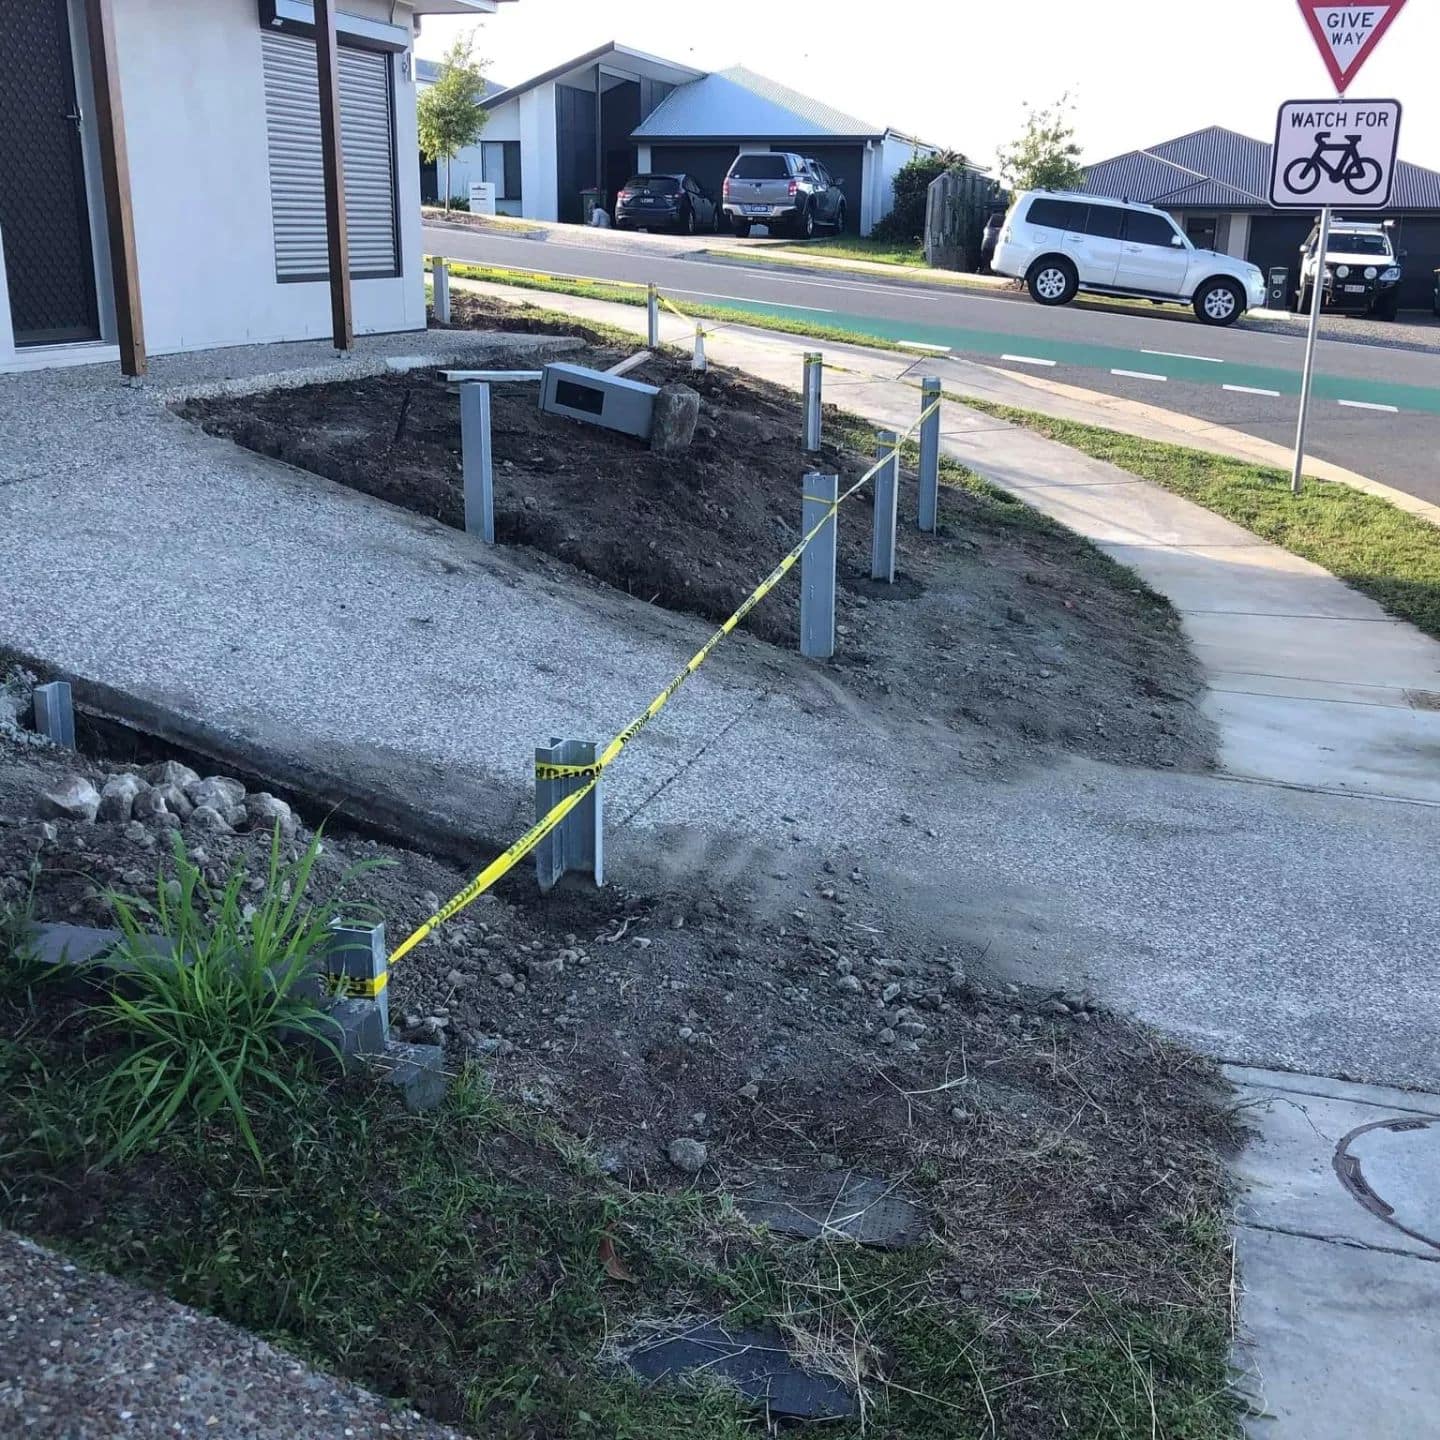
Pouring Concrete for the DIY Timber Retaining Wall: Solidifying the Structure
We poured concrete into these holes with steel bars, forming the base of the retaining wall. This vital step solidified the structure, providing a robust foundation for the retaining wall. We carefully managed the concrete pour to ensure a uniform and level base for the wall. This step saved resources as it utilized locally available materials and simple equipment.

Installing Timber Panels for the DIY Timber Retaining Wall: Adding Aesthetic Value
Our workers installed timber panels between the steel posts, creating the visible part of the retaining wall. This step added aesthetic value to the functional structure. The timber panels, chosen for their natural look, blended well with the surrounding landscape. This step was easy to perform due to the prefabricated nature of the panels, which were designed to fit perfectly between the steel posts.
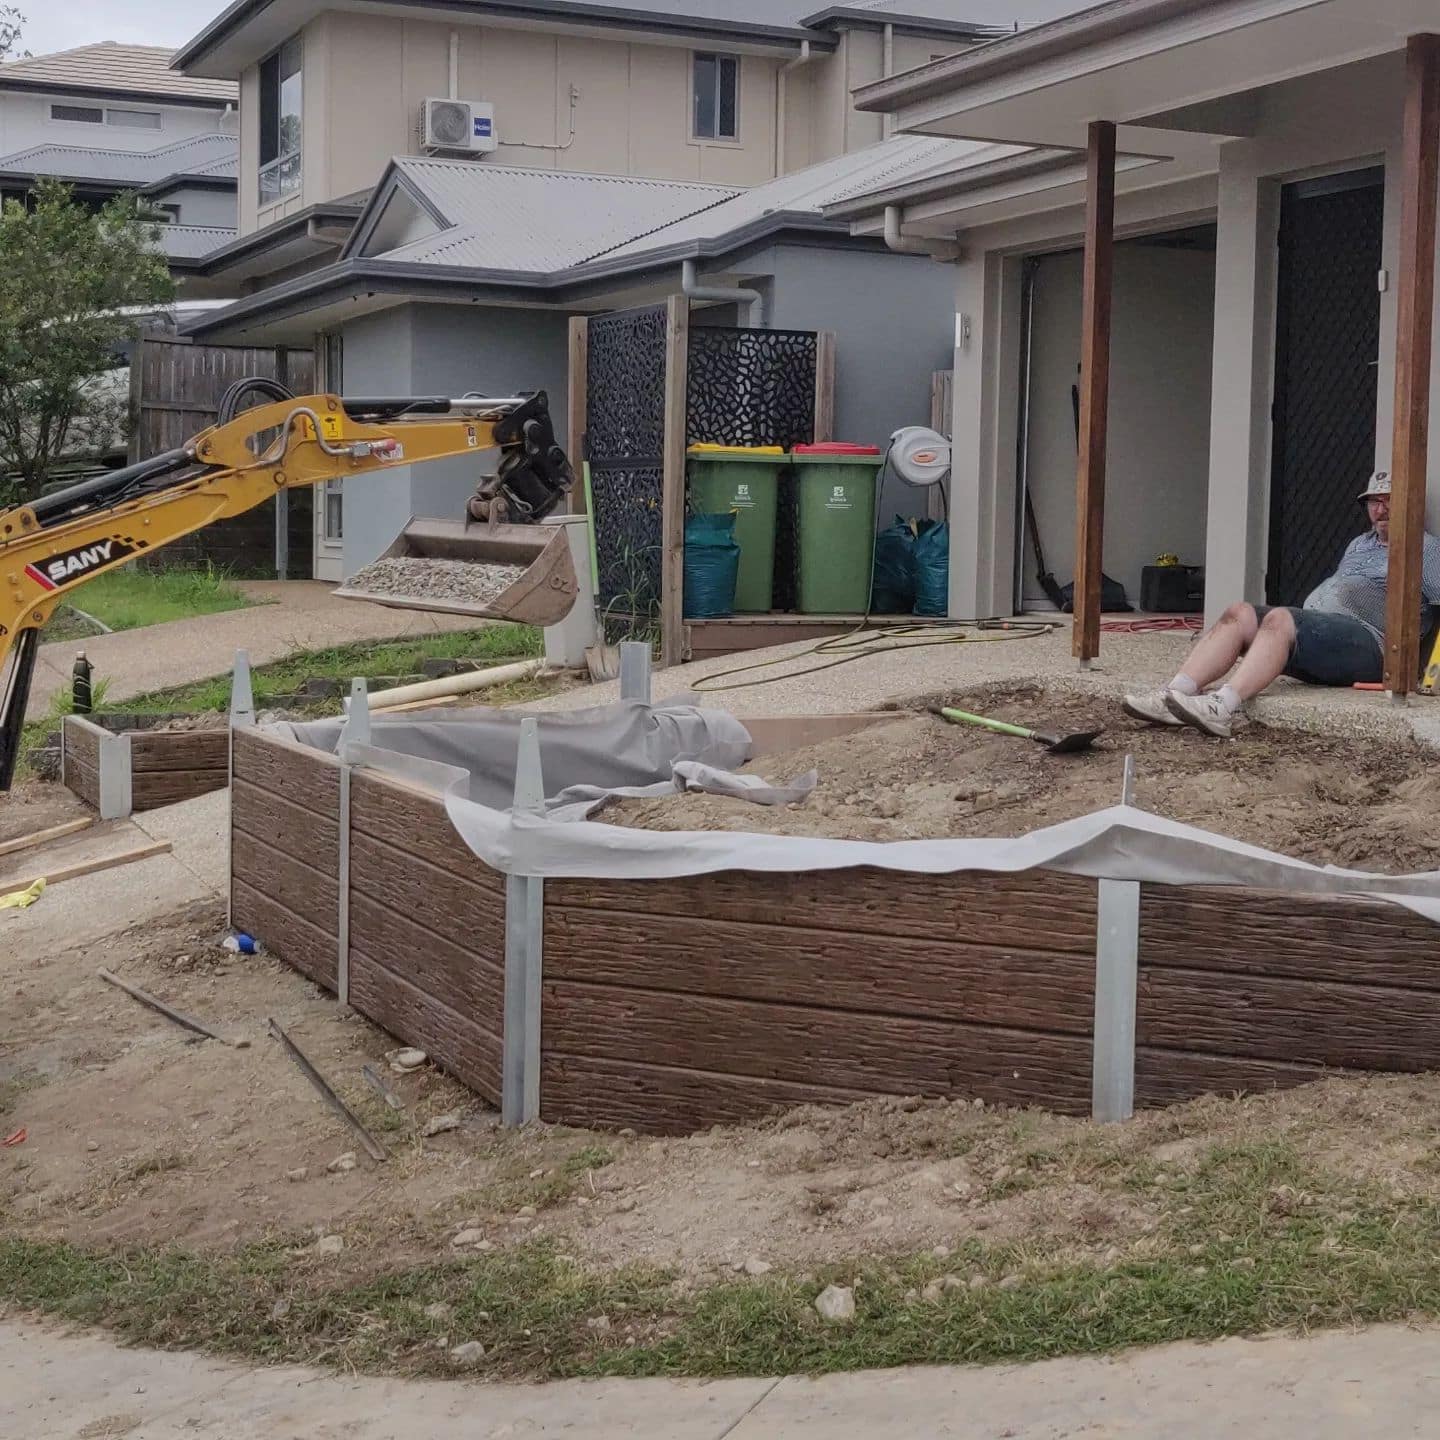
Filling Behind the Wall: Preparing for Future Decking
With the retaining wall in place, we filled the soil behind it. This process involved using a Sany 1.7T Excavator to dump soil. This essential step prepared the ground for future decking. We leveled the filled soil to create a suitable base for the deck. This step saved time as it used machinery to move and level the soil, a task that would have been labor-intensive if done manually.
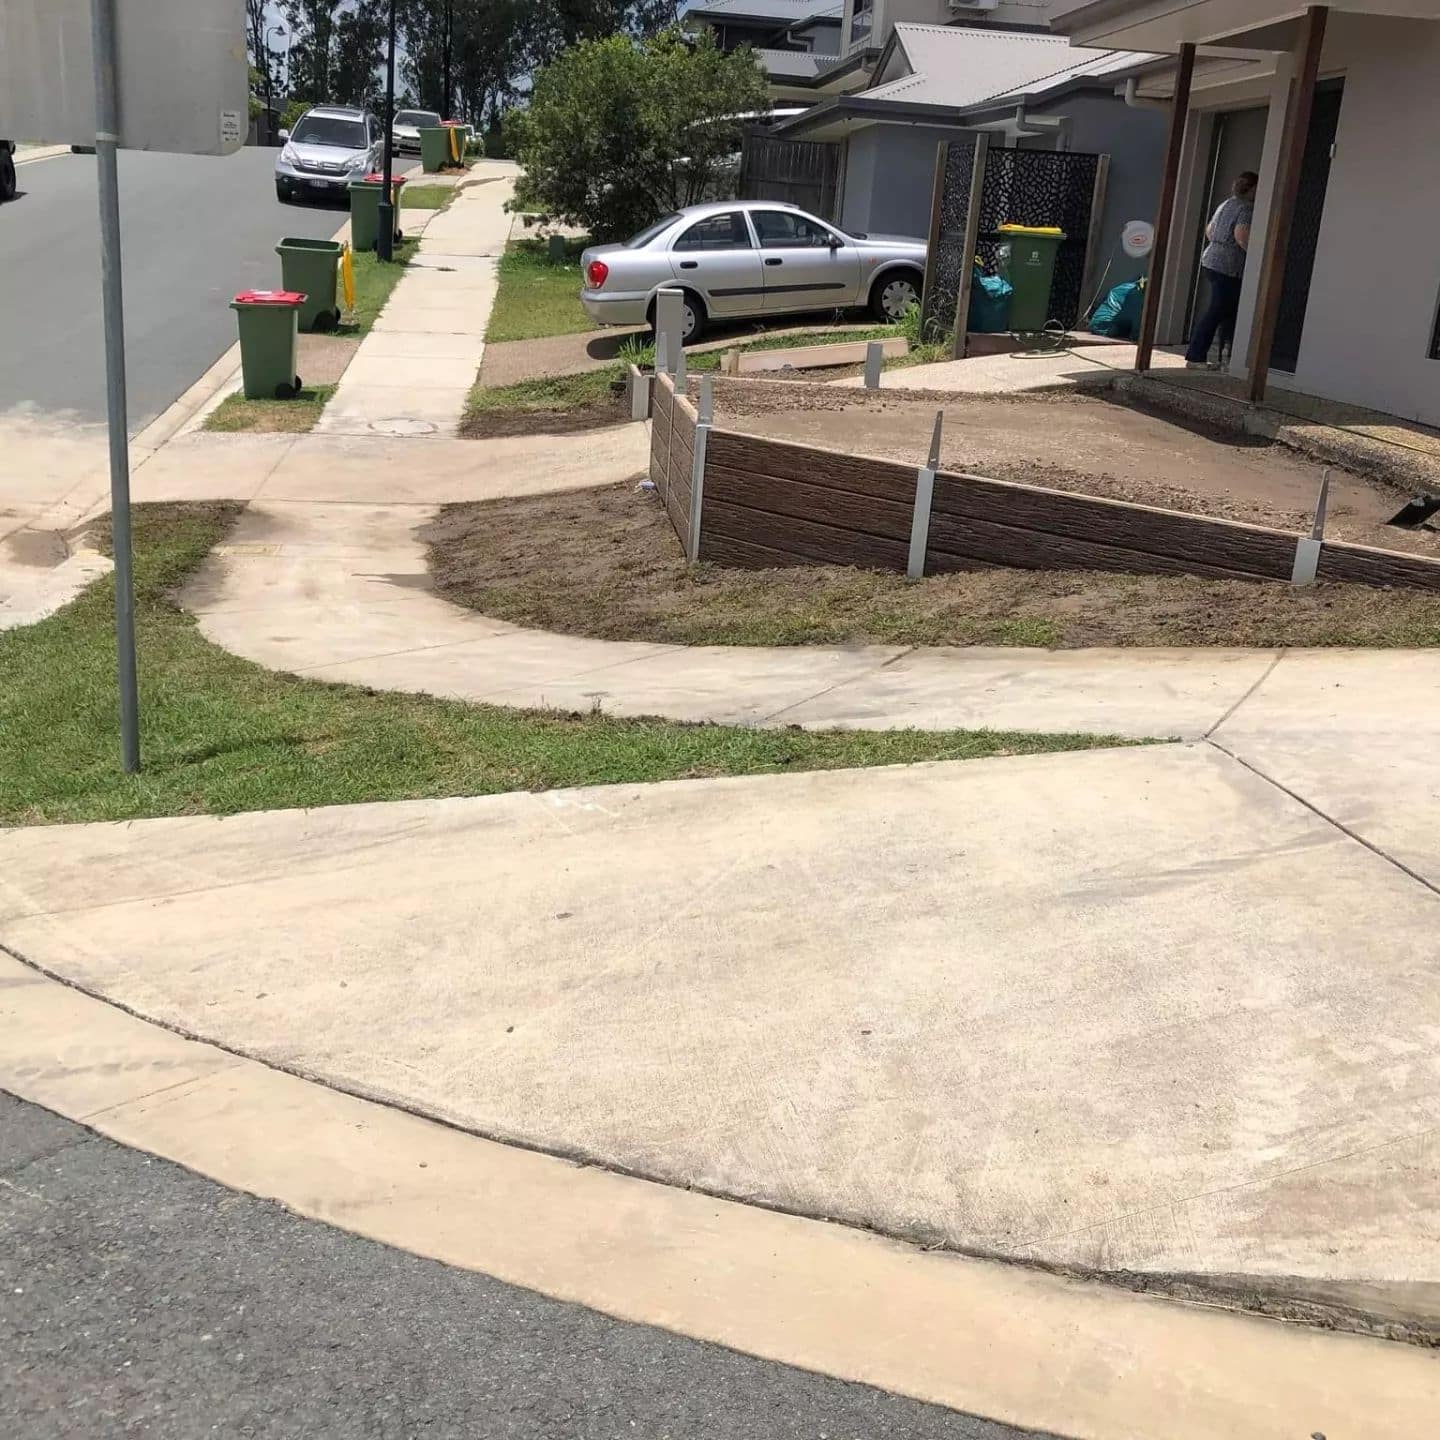
The Transformation Complete: A Testament to Landscaping Excellence
The project was a journey of transformation, turning a simple front yard into a stunning landscape. But more than that, it was a demonstration of what homeowners can achieve with a bit of DIY spirit and a vision. The DIY Timber Retaining Wall was not just a construction project; it was a symbol of transformation, a testament to the power of landscaping, and a beacon for homeowners and business owners looking to renovate or redesign their properties.
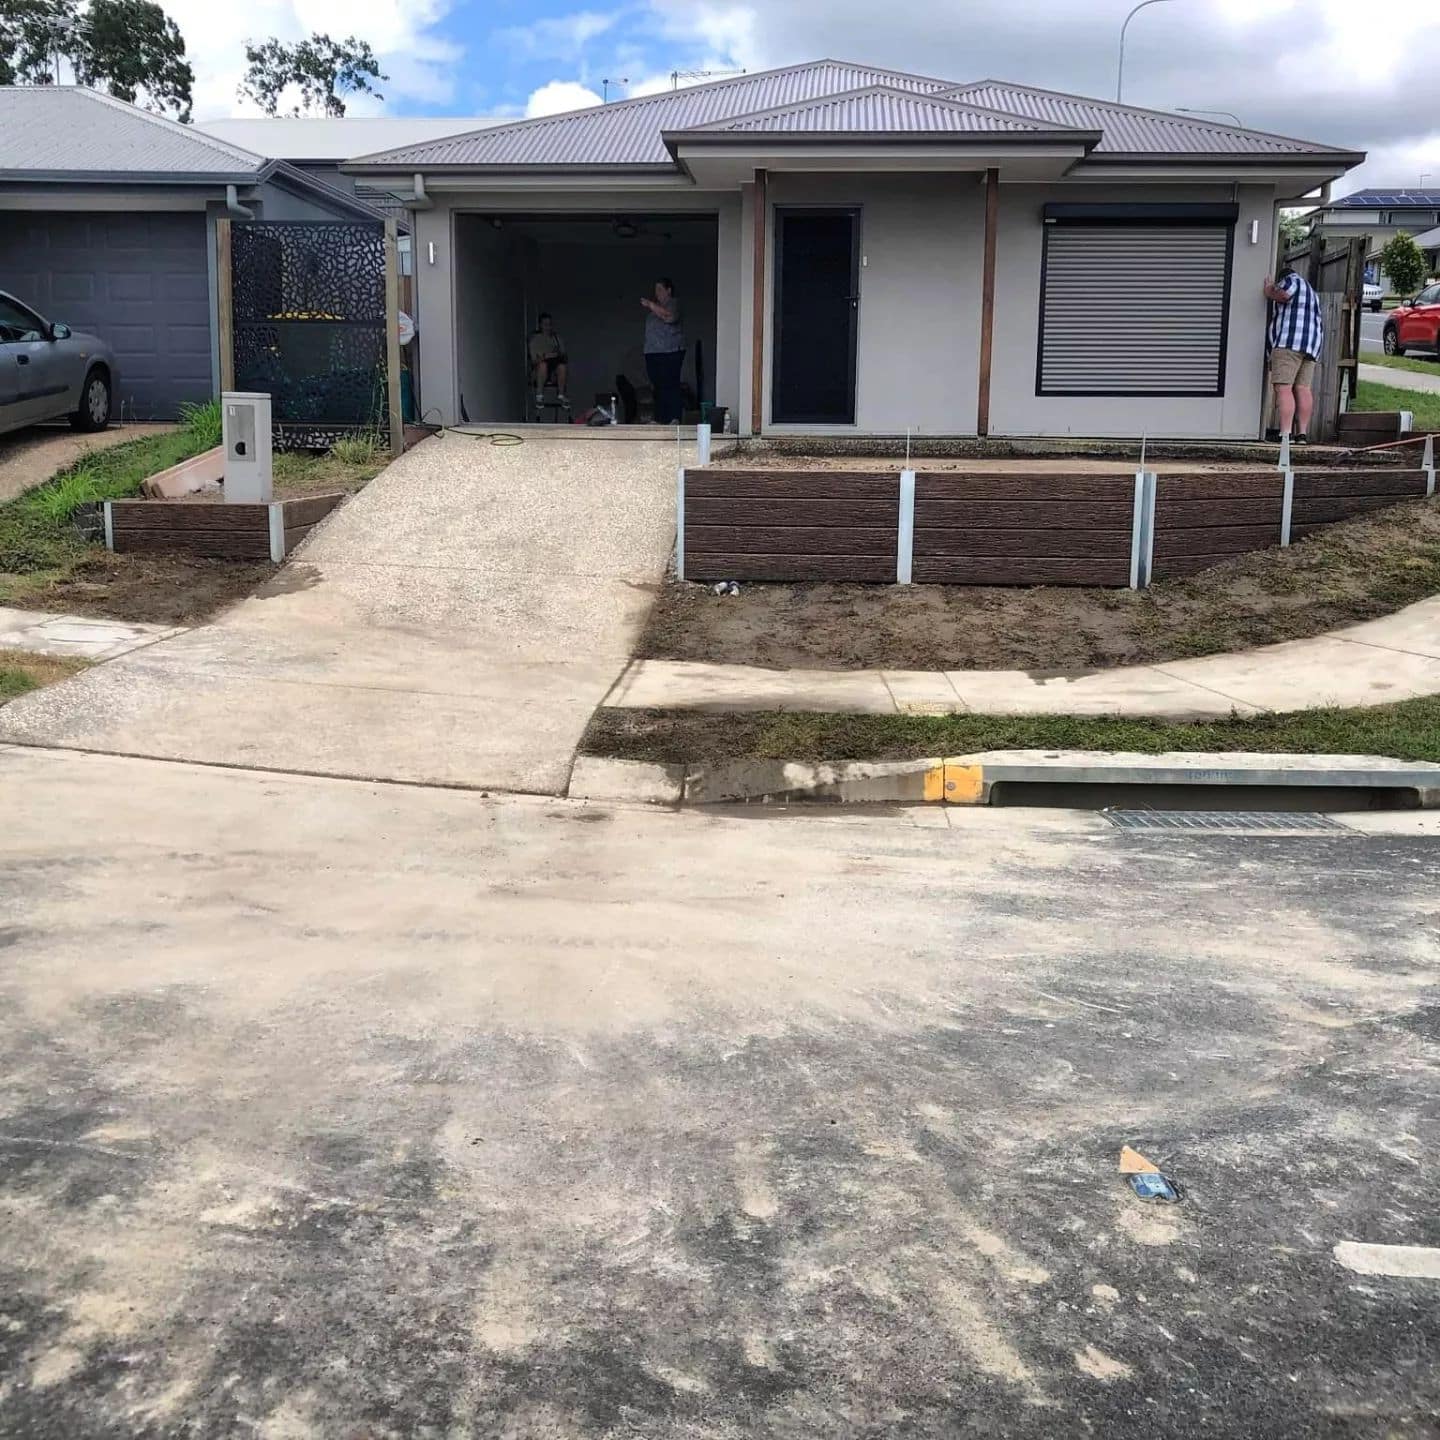
In the end, the project was not only about building a retaining wall. It was about transforming a space, overcoming challenges, and creating something beautiful and functional. It was about showing that with the right planning, resources, and effort, anyone can transform their front yard into a stunning landscape.
ABN 78010687671
Rogers Little Loaders
Call: 0468 477 937
https://www.rogerslittleloaders.com
Email:rogerslittleloaders@gmail.com
Location #1: 1A Church Street North, Redbank, QLD 4301, Australia
Location #2: 3 Mountridge St, Everton Park QLD 4053, Australia
Discover more from Rogers Little Loaders Dry and Wet Hire Brisbane Queensland Australia
Subscribe to get the latest posts sent to your email.
